
Introducing your fire pit to your outdoor space
At long last you have the outdoor fire pit of your dreams (or at least your mind’s eye). Now it’s time to ready your backyard or patio and install it.
Preparation – Getting your space ready for a new fire
Once you’ve finalized your decision, you still need to make sure that your outdoor area can safely accommodate your fire structure. Regardless of whether it’s a DIY fire pit or one that is ready out-of-the-box, you have a few items on your “to-do” list.
Clearing Space
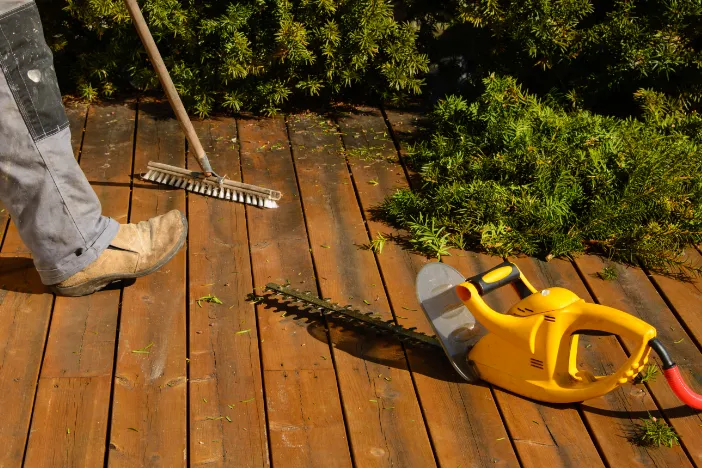
If you’re adding fire to your backyard, make certain that all overhanging tree branches and nearby shrubbery are trimmed. Rake any dried leaves and fallen twigs safely out of the way. You might also want to check the ground with a level to ensure you have a flat surface and add filler where needed. Depending on your setting and fire of choice, it might make sense to pour cement or lay a fireproof mat. If you’re placing the new fire on your deck or patio, clear out flammable materials and move any outdoor umbrellas or shade structures.
Gas Lines & Tanks
If you have plumbed natural gas in your home, it’s critical to know where existing gas lines are located. You’ll need to position your gas fire pit table where it can easily connect to the fuel line. You also don’t want to accidentally dig into a pipe if you’re building an in-ground firepit. Propane firepits will require a clear path to the tank and ample space for the tank itself.
Wind Resistance
If you have strong winds where you live, it’s a good idea to see where the drafts are in your outdoor space. It’s no fun to get smoke in your eyes and it’s dangerous to risk something catching fire if embers or sparks can blow onto something combustible. Consider adding a small hedge or conveniently placed partition in the area to block excessive airflow and minimize a smoking problem.
Installation – Constructing, connecting & readying your fire pit for use
The most important lesson to remember when installing a new fire structure is to precisely follow the manufacturer’s instructions.
Building & Setting Up
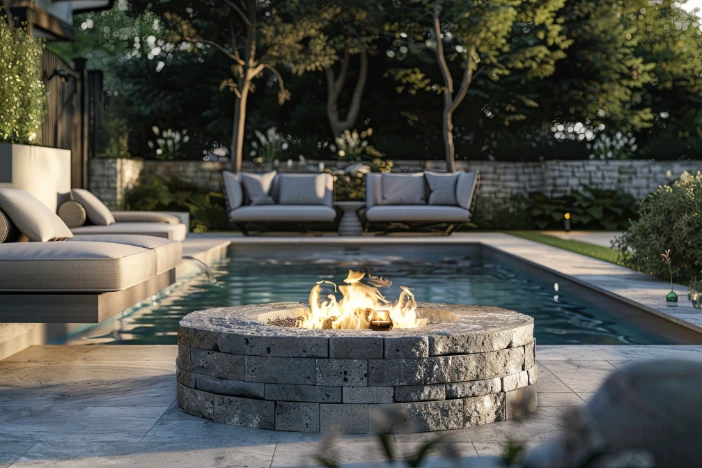
DIY fire pits may save you a lot of money, but laying bricks and stone is not for the casual homeowner. A licensed mason or established contractor is probably a wise choice for substantial fire installations. Ethanol fire pits don’t require venting, so they’re much easier for a do-it-yourself project. Fire pit tables and portable firepits may require minor assembly, so be sure to have the proper tools and keep track of nuts, bolts, screws and small hardware. You don’t want to have to replace missing parts or jerry-rig a fix.
Connecting gas
Propane fire pits have fairly simple procedures for hooking up to fuel tanks. Typically, you just need to be sure your regulator hose is secured on both ends before opening up the gas valve on the propane tank. Check the directions from the manufacturer and on the tank for any specific steps or things to monitor. Connecting to your home’s natural gas line is a bit more involved and should not be attempted without the involvement of a professional.
Storing fuel
Keep a supply of firewood under an overhang, awning or in a woodshed to prevent kindling and logs from getting wet. Liquid bio-ethanol usually comes in plastic bottles or jugs and they should be stored in a dry and cool place out of direct sunlight. Similarly, propane tanks must be kept cool and away from sparks and flames. They should never be stored indoors but may be camouflaged by decorative covers.

Completing the installation of your fire pit
Now that you’ve completed the final steps, you can use your new fire pit – congratulations! A fire pit adds a welcoming ambiance to any outdoor setting and allows you to enjoy your deck or patio into the evening or cool seasons. Read the final section of our guide to get some last-minute safety tips and maintenance notes.



Leave a Reply