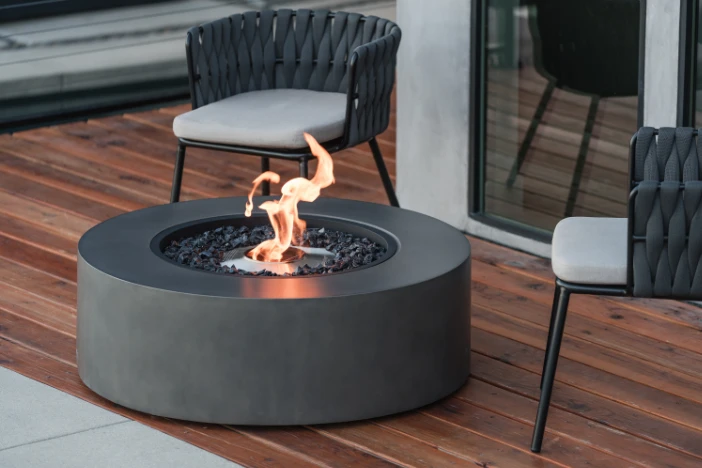
Adding an outdoor fire takes planning
Man has been drawn to the allure of an open flame since time immemorial (or when Prometheus stole it from the Olympian gods). Fire has always been vital for life – heating, protecting, cooking and smelting. It also serves as a welcoming focal point for social gatherings. Dancing around festive bonfires, toasting marshmallows over a campfire or enjoying company in front of the crackling blaze of a fiery hearth are memorable activities.
Regardless of the use, fire deserves respect and a thoughtful approach when adding it in and around your home. It’s especially important given the growing appreciation for outdoor living, or what Norwegians call friluftsliv [Gelter 2000]. This guide is a comprehensive template for evaluating your needs, options and preparations when buying an outdoor fire pit. It’s divided into several sections shown at the bottom of this page. Review each one for a holistic understanding of the evaluation process.
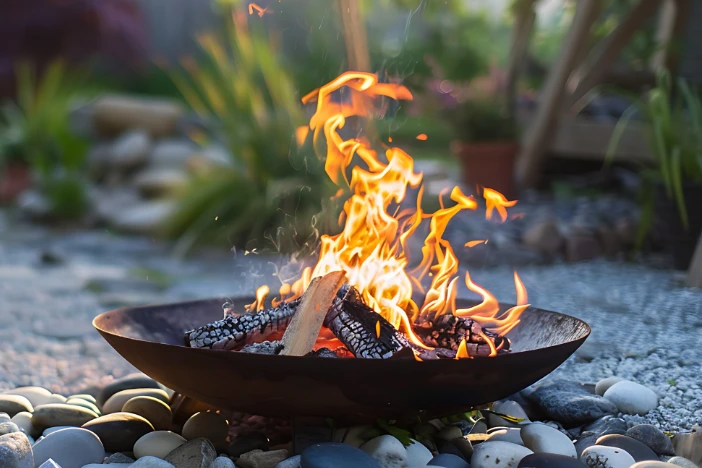
Considerations before buying a firepit
Many factors can impact the type of fire furnishing you can or should purchase.
Legal
Are there local wood-burning laws, building restrictions or permits required? Most communities have local ordinances restricting how close fires may be to homes, structures and trees. There may also be paperwork to file and approvals to get before you can do any major renovations or construction if you’re building a permanent fixture. A certified contractor may be required if you’re connecting to gas lines. Contact your Homeowners Association or local City Hall for more information.
Environmental
What size is your outdoor space? A charming backyard might not be able to handle a spacious fire pit. It’s important to have a fire that is proportional to the area. Also, the architecture or landscaping around your home may make certain types of fires difficult to accommodate. Is your patio or deck combustible? If so, there may be restrictions on what you can install. Before purchasing, read through product manuals – clearance and installation requirements will dictate your options. What about overhanging branches, low-hanging plants, or awnings? Is it dry or windy? Understand how smoke and embers blow about to prevent bothering guests and neighbors. You also don’t want to risk setting the area ablaze. Windbreaks may be required or you might be limited to self-contained installations rather than open-air.
Budgetary
How much you’re willing to spend certainly affects your alternatives. Is money tight or is the sky the limit? You can buy a small portable fire bowl for a few hundred dollars, but if you’re building a substantial fire feature on which you can cook, it can run ten thousand or more. It depends on how you plan to use it and how often. Do you occasionally go outside or frequently spend the day and evening in the fresh air? Is this an investment to increase the value of your property? High-quality permanent fire installations are attractive to many potential buyers and can increase the appraised value of your home.
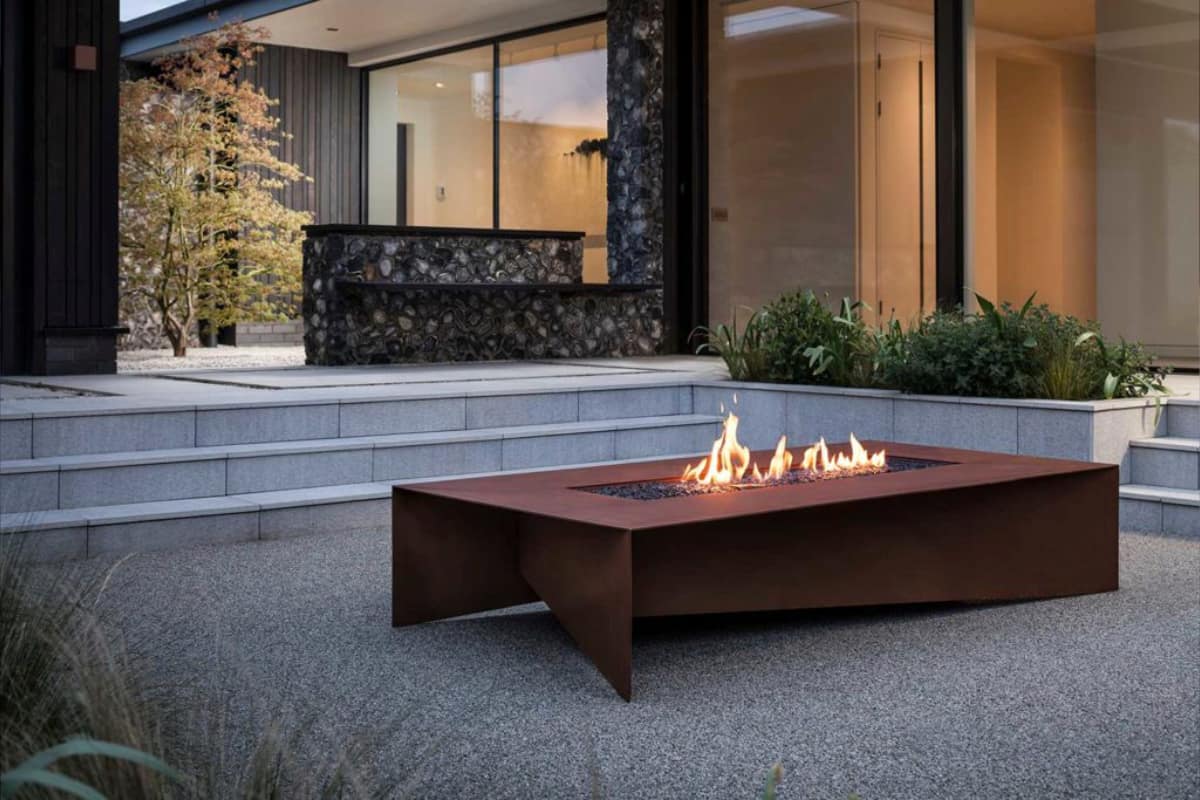
Placement – Where do you plan to put the fire?
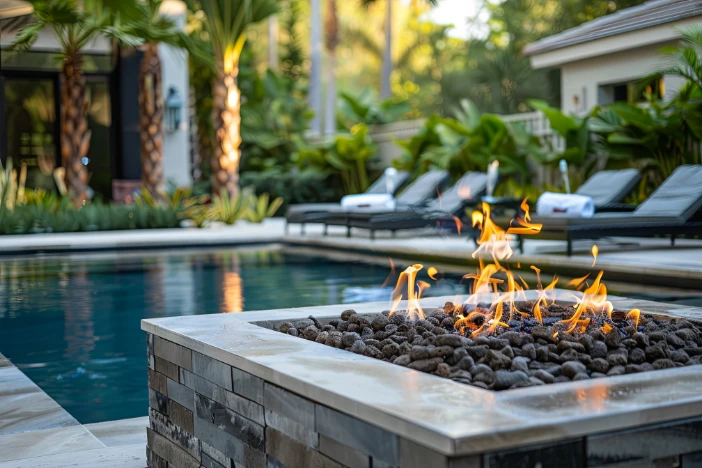
The location of a fire has a strong social impact on your outdoor living space. They tend to attract people, so wherever you put one is apt to become a popular gathering place.
Away from your house
Placing a fire pit across the backyard on the grass or in a secluded clearing is sure to draw attention from the immediate vicinity of your home. If you have teenagers, you can bet that’s where they’ll congregate to chill and get away from the “rents.” Be sure to keep it in view from a window or porch for safety’s sake.
Attached to or near your house
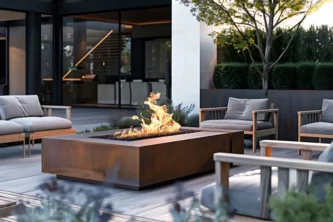
Keeping a fire pit on your deck or patio will centralize activity, lessening the chance people will stray. You have a bit more leeway here since existing architecture can be built upon for permanent fires. Large fire furnishings also work better nearby as they don’t dominate the space like they would out in the open. However, you need to be mindful of the ceiling clearance and ventilation in covered patios and ensure that the space complies with any minimum manufacturer requirements. An outdoor living room with a fire can be amazing if you plan to avoid issues.
Along walkways and walls
If you have a spacious outdoor area, you might want to light up the path from the front to the backyard or pool area. Partial and low walls offer interesting opportunities for small decorative fires.
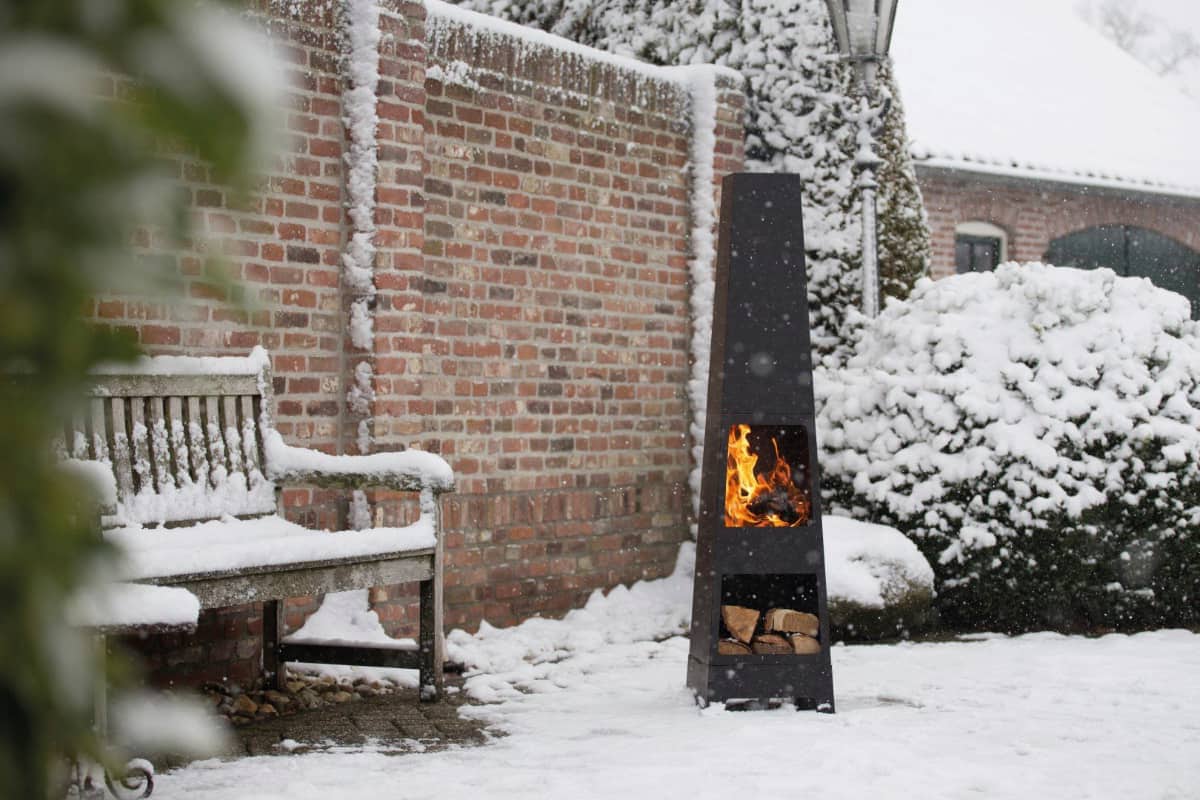
Function – What’s the main purpose of the fire?
Before choosing a fire pit, it’s a good idea to think about how you plan to use it. Some models are multifunctional, while others are specific in their application.
Heating
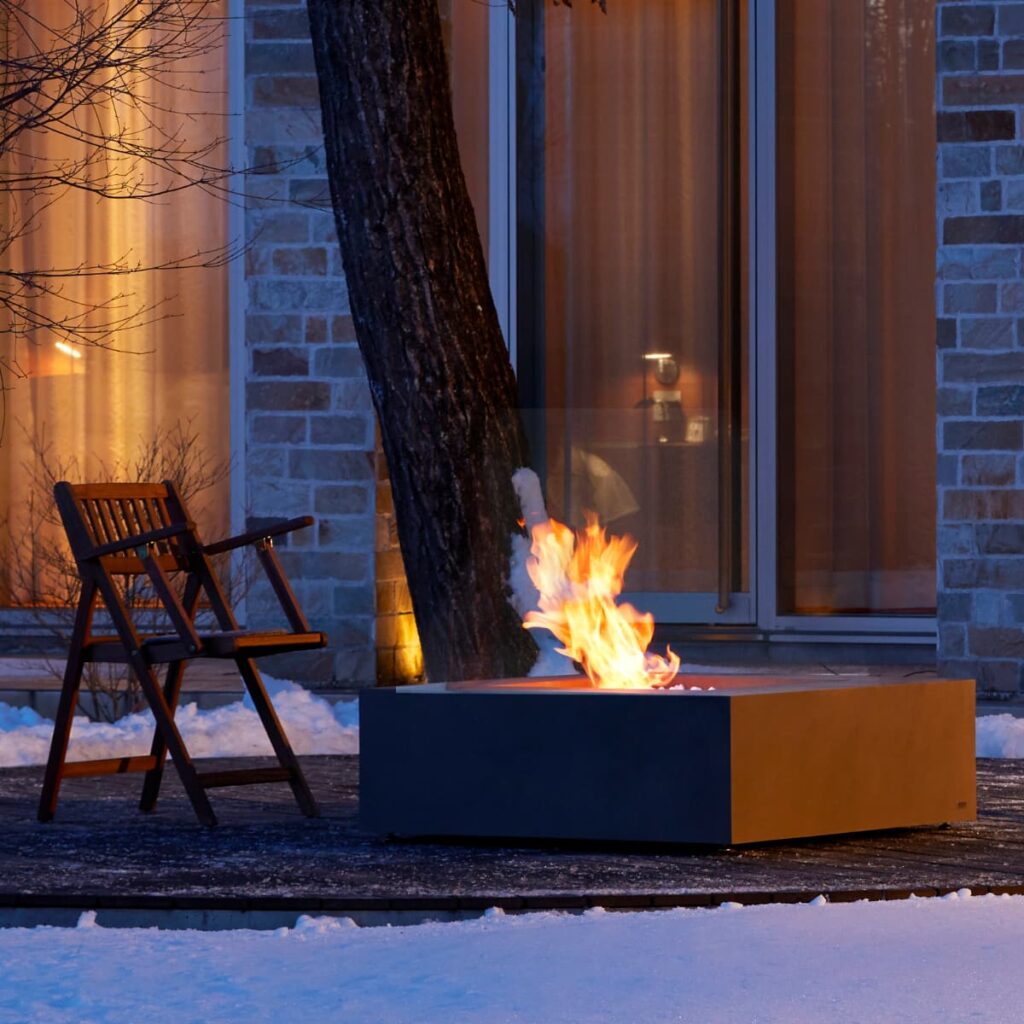
Fires provide warmth so you can spend time outside in the evenings or during winter months. However, wood-burning varieties tend to generate more heat than other fuels. Also, your space size determines the scale of the fire you may need. Must it work with an existing lounge set? If you have offset seating a one-sided fire is a good choice for directional heat. Conversely, an open-air style works well when surrounded by seating or standing areas.
Cooking
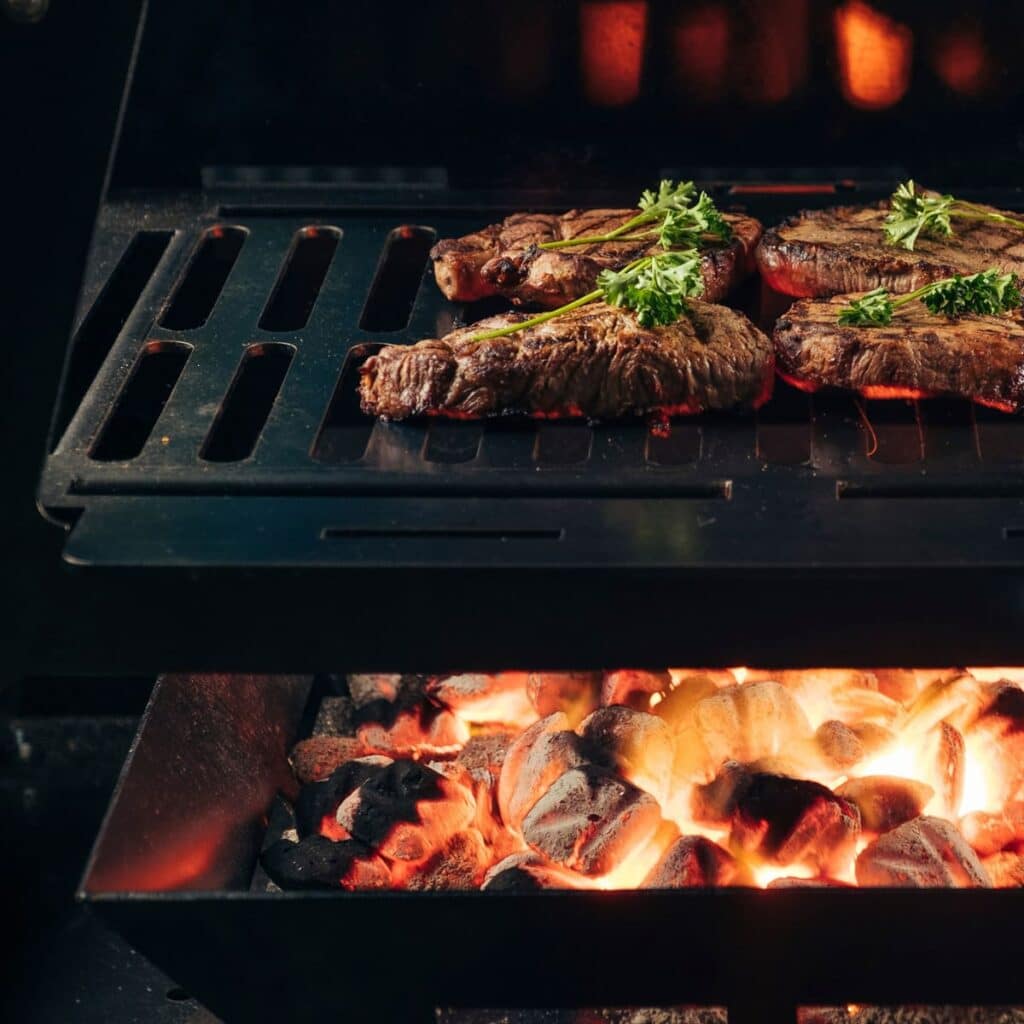
If you’re simply roasting marshmallows or hotdogs, you can probably get by with any fire (except maybe a bonfire). Just impale the food on a skewer, hold it over the flame and you’re good to go. But, if you want to grill burgers or shish kebabs for family and friends, you’ll want a grate or the ability to add cooking accessories. Some fire pits can double as basic outdoor barbecues, while more elaborate hybrids enable you to bake pizza or even smoke ribs.
Decorative
If you already have functional fires, perhaps you’re interested in enhancing the ambiance of your outdoor setting. There are many styles of firepits, so you need to pick the aesthetic you want. Will it accent an architectural feature or landscape element, or will it be the focal point? Does it need to have appeal when it’s unlit? A bright flame adds life, but there is plenty of downtime when a fire pit is idle.
Fuel – Does smoke, smell, convenience or cost matter most?
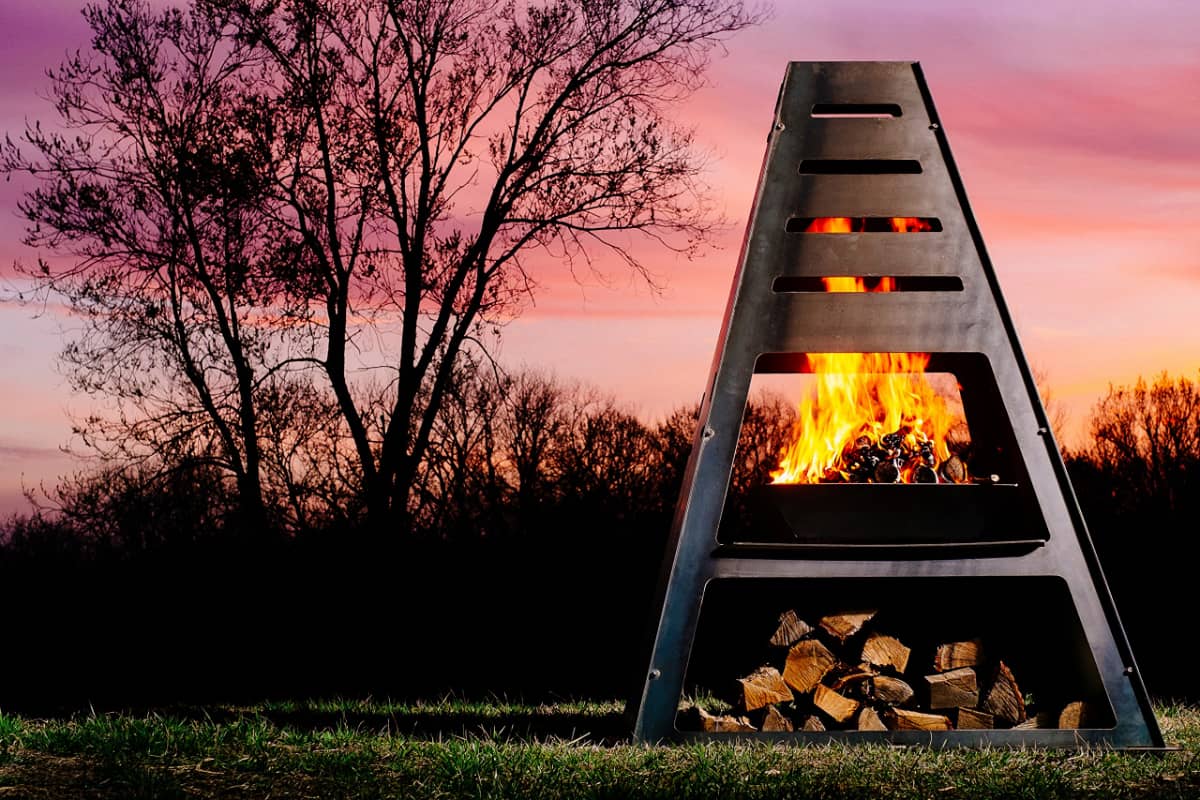
All fires are not the same. The fuel used to generate a flame affects the heat emitted and the experience of those nearby. Some fuels are low-priced and easy to work with, while others are more expensive and require effort.
Primary fuels – Heat versus cost and ventilation
- Wood – Cheapest fire with ambiance and great for cooking but smokey and messy
- Propane – Inexpensive smokeless fuel with the hottest flame but odor and ugly tanks
- Natural Gas – Low-cost smokeless fuel but odor and high installation costs
- Bio-Ethanol – Eco-friendly fire needs no ventilation but it can’t be used for cooking
Fire pit fuel comparison table
| Factor | Wood | Propane | Natural Gas | Bio-Ethanol |
|---|---|---|---|---|
| Heat | High | Medium | Medium | Low |
| Burn Time | Short | Medium-Long | Long | Short |
| Cost | Low | Medium | High Short Low Long | High |
| Safety | Account for sparks, embers & smoke | Fumes to ventilate | Fumes to ventilate | Liquid fuel to light |
| Ease | Manual Ignition Messy Burn | Auto-Ignition Clean Burn | Auto-Ignition Clean Burn | Manual Ignition Clean Burn |
| Availability | Everywhere | Everywhere | Utility Company | Specialty Home & Hardware |
Secondary Fire Fuels – Aesthetics versus utility
Additional combustion materials have limited applications for outdoor fires, but they still have appeal for specific circumstances.
- Gel Fuel – Easy-to-use smokeless aesthetic fuel generating little heat for a short time
- Wood Pellets – Consistent high-heat and eco-friendly fuel but are expensive
- Charcoal – Inexpensive high-heat fuel that’s great for cooking but smokey and messy
Helpful Article
Read our comprehensive article on fire pit and fireplace fuels for a deeper dive into each fuel type and their pros and cons.
Ready to evaluate your fire pit options
Now that you’ve done your initial planning homework, you’re prepared to review the types of outdoor firepits. Click through to the next section in our guide for an in-depth look at options.
Guide Sections
Frequently Asked Questions – Outdoor Fire Pits
How do you build an inexpensive DIY fire pit in your backyard?
Before you do anything, contact your local government, homeowners’ association or fire department to make sure that firepits are legal in your community. Find out if there are any restrictions on the size, placement, material or fuel type and be sure to comply with all regulations and obtain any required permits.
To make a low-cost firepit yourself, you need a variety of tools and materials.
TOOLS: Shovel, hand tamper, rubber mallet, trowel, level, marking paint
MATERIALS: Pre-cut blocks (trapezoidal for a round fire pit), metal fire bowl or ring (or fire bricks), granite gravel, landscape fabric, pavers, crushed stones or pea gravel, mortar or construction adhesive
STEPS:
- Select the location of your firepit – Find a position 15-20 feet away from structures or flammable materials – Clear away brush and overhanging branches in the area
- Mark and prep the area – Use marking paint to draw a circle slightly bigger than the circumference of the firepit (typically 3-4 feet across) – With a shovel, dig a hole roughly 7 inches deep – Pack the dirt down solidly with a tamper and make sure it’s level
- Build the fire pit foundation with gravel – Pour crushed paver gravel into the hole (about 5 inches) – Thoroughly wet the gravel and tamp it down until there’s a compact layer approximately 2 inches below the surface – Check to make sure it’s still level
- Set the blocks in place – Place the first layer of blocks on the gravel base around the perimeter – Make sure the blocks are fitted tightly together – Use leveling sand and a long level at multiple spots around the circle to ensure everything is the same height (tap with a rubber mallet to make small adjustments) – Lay the second layer of blocks but stagger the joints with the first
- Test the fit of your fire ring or firepit bowl – Set the metal ring within the block circle and ensure a snug fit – If it’s a metal bowl, make sure the lip rests fully and securely on the top of the blocks – Adjust the blocks if necessary – Remove the ring or bowl
- Secure the blocks – Remove the second layer of blocks – Apply mortar or construction adhesive to the bottom layer of blocks – Refit the second layer and repeat the process for additional layers (most fire pits have 3-4) – Be sure to test fit each row as you go before permanently securing the blocks in place
- Protect the surrounding area – Dig a 7-foot diameter trench around the firepit (2-4 inches deep) – Line the bottom with landscaping fabric to prevent weeds and other plant growth – Cover the area with pea gravel, crushed rocks or stone pavers
NOTE:Check the curing time for the construction adhesive or mortar to ensure the DIY fire pit is completely dry and ready to safely handle a fire.
How do you start a fire in a firepit?
Lighting an outdoor fire pit is different depending on the fuel burned and the specific design of the fire piece.
WOOD
- Build an ample pile of tinder (bark shavings, pine needles, cotton or cattail fluff)
- Stack kindling (splinters, sticks & twigs) in a pyramid with smaller pieces first
- Use a long-stemmed match or lighter to ignite the dry brush
- Add larger pieces of kindling until the fire is blazing
- Add firewood (slabs of wood or logs)
LIQUID PROPANE & NATURAL GAS
Make sure the gas control on the fire pit is turned off before opening the valve for the plumbed natural gas or liquid propane tank. Gas-fueled fire features are typically push-button or match light and each has its own protocol.
Push-button
- Press the ignition button (usually red) until you hear a clicking that indicates that sparks are being generated
- Continue depressing the ignition button and turn on the gas at a low level
- Release the button when you see flames coming from all the jets
- Adjust the flame height using the gas control
Matchlight
- Ignite the lighting wand/rod and hold it next to the jets at the center of the firepit
- Turn the gas to the “on” position
- Remove the lighter once all the jets are lit
- Adjust the flame height using the gas control
BIO-ETHANOL
- Open the lid to the burner and make sure it’s clear and ready for use
- Fill the burner with approved bioethanol fuel using filling accessories recommended by the firepit manufacturer
- Move the fuel container a safe distance away
- Use the lighting rod provided by the manufacturer and follow their instructions for igniting the bio-ethanol (e.g. EcoSmart Fire directs you to dip the end of their lighting rod into the bio-fuel, light the rod and then dip the flame into the burner until it lights)
- Adjust the flame height using the burner controls
What is the best fire pit?
The best firepits are well-designed and made of high-quality materials with strong manufacturer warranties. Choosing the fire pit that is most appropriate for you depends on the unique requirements of your outdoor space and personal preferences.
High-level factors include:
- Legal restrictions
- Environmental constraints
- Budget limits
Other important considerations include:
- Placement (proximity to home)
- Function (heating, cooking or aesthetic)
- Design style (above or below ground, fixed or freestanding)
- Material construction (metal, mineral or tempered glass)
- Fuel type (wood, liquid propane, natural gas or bio-ethanol)
- Safety features
- Ease of maintenance
References



Leave a Reply